Steps to Make Favorite Milk Bread
Hello everybody, hope you're having an incredible day today. Today, I'm gonna show you how to prepare a distinctive dish, Recipe of Speedy Milk Bread. One of my favorites. For mine, I will make it a bit tasty. This will be really delicious.
In regards to cooking wholesome meals for our own families, there is definitely some level of dissention among the ranks. The fantastic thing is that there are recipes which are very healthy but also the healthful nature of these recipes is somewhat concealed. What they do not know in such instances shouldn't bring harm their manner (outside of allergies, which will not be discounted ).
The same is true for lunches once we often resort to your can of soup or box of macaroni and cheese or any other similar product instead of putting our creative efforts into making a quick and easy yet delicious lunch. You may observe many ideas in this guide and the hope is that these ideas won't only get you off to a excellent beginning for ending the lunch rut we all look for ourselves at at any time or another but and to test new things all on your very own.
First of all, maybe not all fantastic lunches need actual cooking as a way to prepare. A few of them will require using this microwave and some of them will want to get cooked or prepared before hand and reheated. Your choices are virtually limitless as soon as you understand the creative concept that must be in place. You should also discover that many of these ideas are so simple you will wonder why on earth you haven't ever thought of them. I hope that a few of these ideas will get chief features within your home.
Many things affect the quality of taste from Milk Bread, starting from the type of ingredients, then the selection of fresh ingredients, the ability to cut dishes to how to make and serve them. Don't worry if you want to prepare Milk Bread delicious at home, because if you already know the trick then this dish can be used as an extraordinary special treat.
As for the number of servings that can be served to make Milk Bread is 1 serving. So make sure this portion is enough to serve for yourself and your beloved family.
To begin with this recipe, we have to prepare a few components. You can have Milk Bread using 7 ingredients and 18 steps. Here is how you cook it.
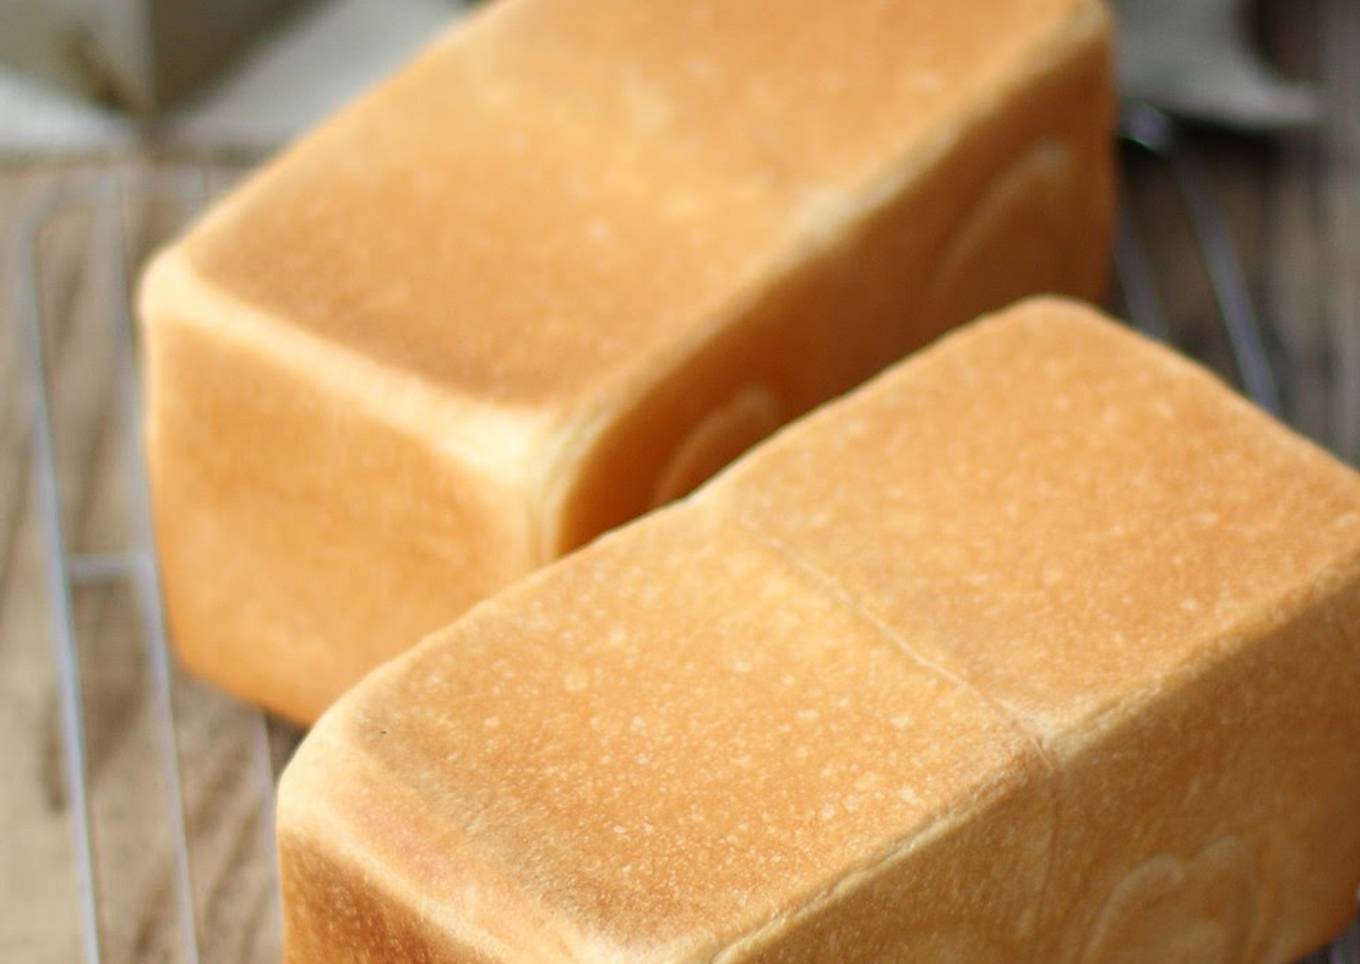
This milk bread with homemade yeast is my favorite bread recipe that I bake often []. Recently, I haven't had time to make homemade yeast (sob!) so I made the bread with cheap and easy dry yeast. It still tastes good so I wrote it all down. Keep kneading until the gluten is well-developed. The rising and baking steps will make a big difference in the final product so please monitor carefully and decide for yourself. I like a light-colored bread so halfway through baking I lowered the oven temperature but if you prefer a darker color keep the oven temperature as is. For 1 loaf. Recipe by Lesser Panda
Ingredients and spices that need to be Get to make Milk Bread:
- 250 grams Bread (strong) flour
- 15 grams ★Sugar
- 4 grams ★Salt
- 3 grams ★Dry yeast
- 180 grams Milk
- 10 grams Shortening (Or unsalted butter)
- 8 grams Vegetable oil
Steps to make to make Milk Bread
- Add the ★ ingredients to a bowl and whisk. Then add milk and mix until the dry ingredients are blended in. *The pictures show the right amount for 2 loaves.

- Put Step 1 into a bread maker or kneader. Knead until the dough is nice and smooth and has become sticky.
- Divide Step 2 into about 10 rolls with a card or by hand, add vegetable oil or shortening and mix again until the gluten develops (you can check this by pulling it apart and looking for a thin, sticky film that will stretch).

- When you are done kneading, form the dough into a taut ball shape ensuring the seams are firmly underneath and let it rise. It should expand to about double in size.

- When it has risen, divide the dough in half and again form into tight balls. Cover with plastic wrap and leave at room temperature for about 10-15 minutes.

- Roll the dough into about an oval shape about 25 cm in size as you flatten and remove air pockets. Fold the left and right sides to the middle, overlapping the edges slightly.

- Roll from the side closest to you and use your fingers to press the ends closed.

- Place the dough into a greased pan. Make a fist and lightly press the top of the dough down to form an even surface.
- Cover with wrap and use your oven's bread-rising function set at 40°C for 40 minutes for the second rise. Keep watching to decide when it has risen enough.

- Preheat the oven to 200°C. The rising process will continue while you are waiting for the oven to heat so avoid too warm an area and watch over it.! *If you use a square loaf pan, position the lid on top. For pullman loaves with rounded tops, leave them as is.
- When the oven is preheated to 200°C, bake for 15 minutes, then lower the temperature to 190°C for 15~20 minutes. When the bread is baked, drop the bread (in the pan onto the counter) with a thud (to release the excess steam) before removing it from the pan.

- If the bread doesn't come out of the pan easily, turn it sideways and drop it a few times into the sink or a similar place. Doing this is a great stress-reliever for me.

- It's delicious fresh or as toast.

- The bread will be moist and delicious even after the bread has cooled down (or the next day). It's great as is or toasted.

- In trying to conserve energy, I bake 2 loaves at a time and as soon as one of them has cooled, I slice and freeze them to store. You can toast a slice straight from the freezer and it'll still taste delicious.
- Here are some round-topped pullman loaves.

-

- I usedHomemade Yeast Milk Bread and substituted in dry yeast.

It's those small measures you take towards your objective of cooking healthy foods for your family that will matter far more than any leap. Before you know it you may find that you all have greater energy and a much better sense of overall health than you'd have imagined before changing up your eating customs. If that isn't enough to encourage you however, you could check out the excuse to go shopping for new clothes after you lose a size or 2.
So that is going to wrap this up for this special food Simple Way to Prepare Speedy Milk Bread. Thanks so much for reading. I'm sure that you will make this at home. There is gonna be interesting food in home recipes coming up. Remember to bookmark this page in your browser, and share it to your family, friends and colleague. Thanks again for reading. Go on get cooking!
Post a Comment for "Steps to Make Favorite Milk Bread"